


This post may contain affiliate links. Please read our disclosure policy.
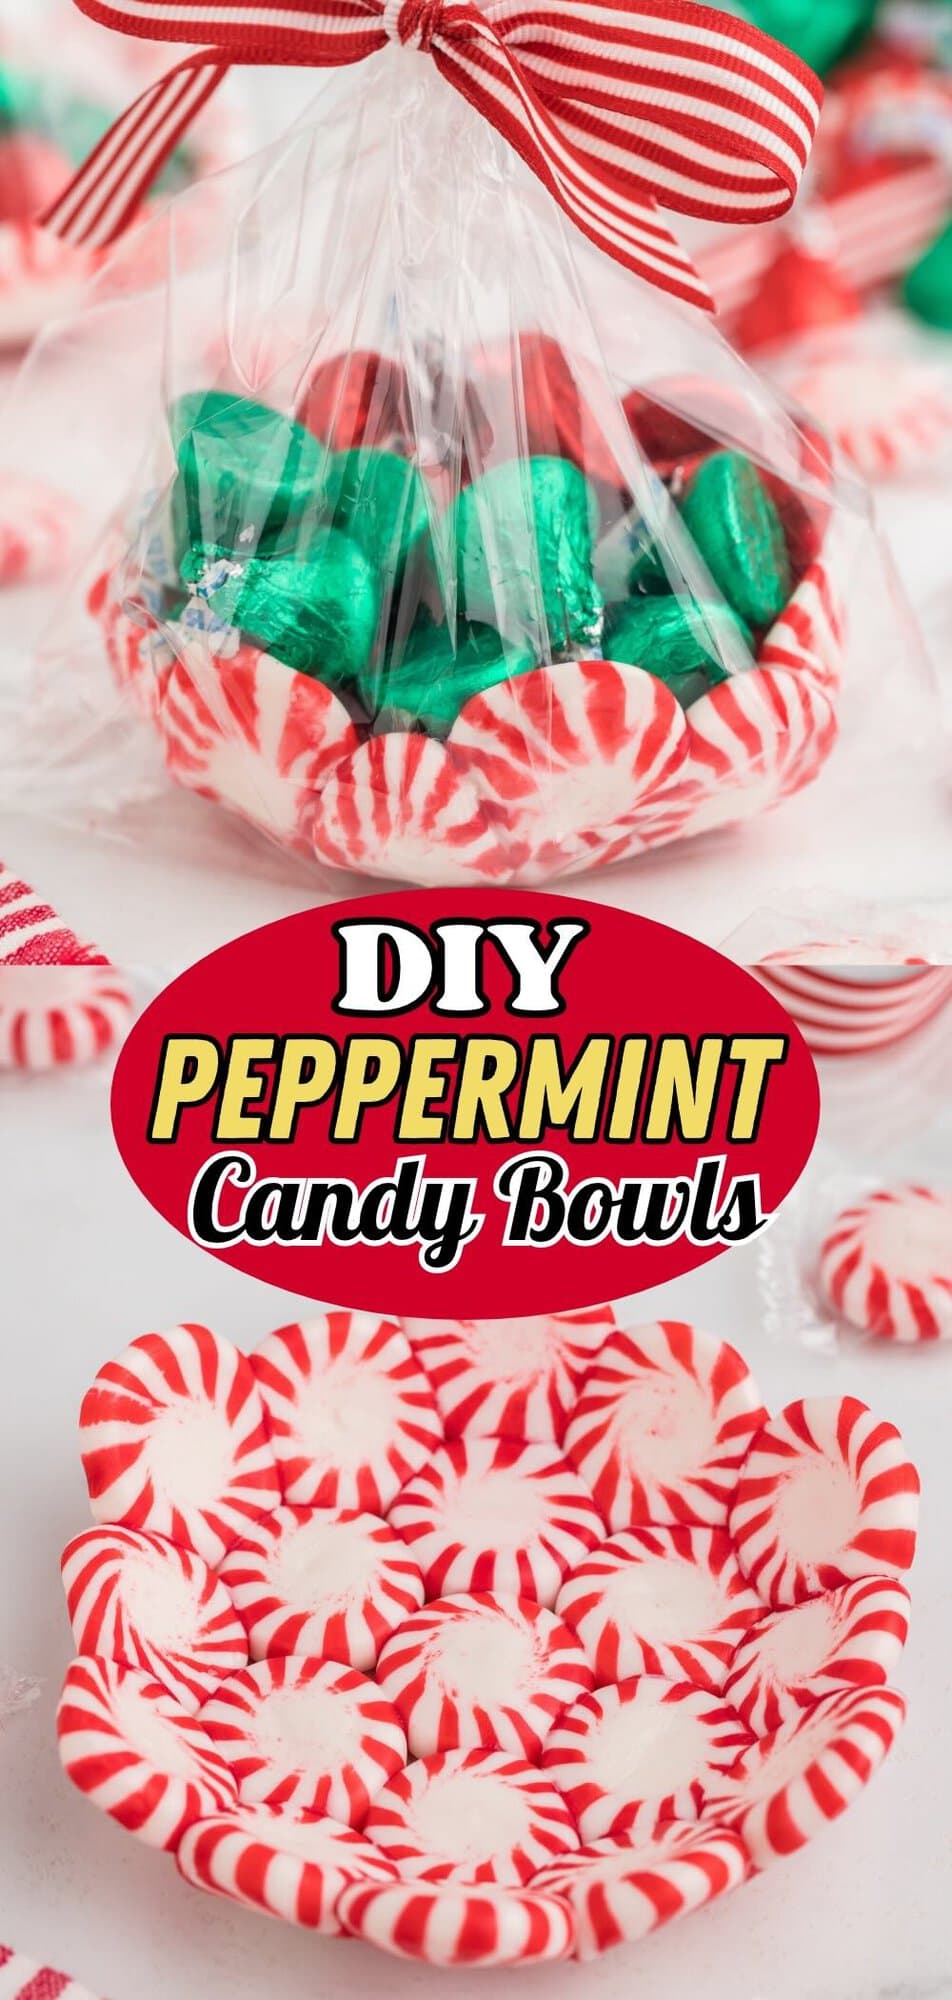
These DIY peppermint candy bowls are one of my favorite and most popular holiday gifts, and they look adorable filled with candy on a desk or counter. The red and white swirls melt into a shiny, scalloped little dish that’s sweet and minty. People always love getting one.
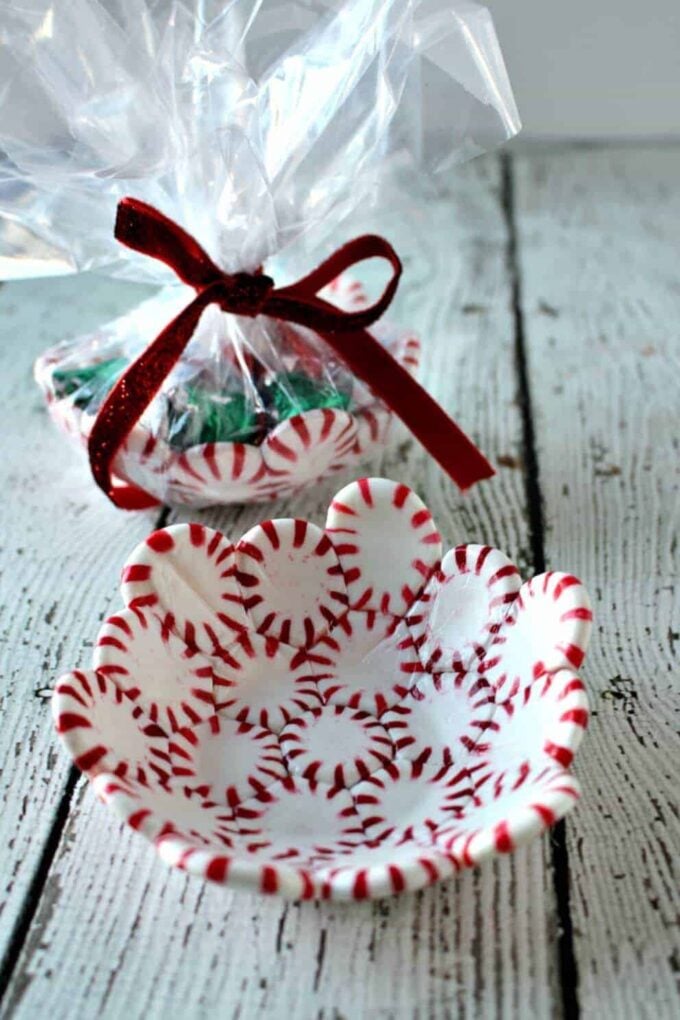
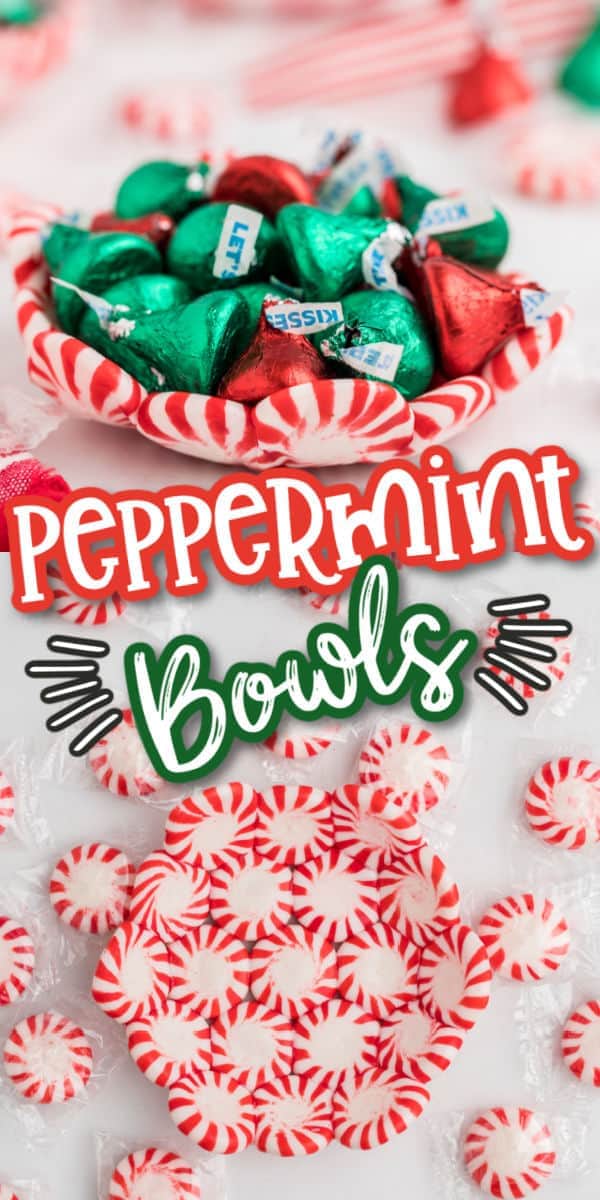
I still make peppermint candy bowls every December, and over the years they’ve gone to teachers, to the people I worked with at the office, and to any buddy I wanted to bring a little holiday cheer to.
I shape every peppermint bowl over a small glass bowl about 4.5 inches across the top, and that size is the one part I would not change. I’ve tried bigger bowls and they haven’t worked for me, so this is the size the whole recipe is built around.
My peppermint candy shot glasses and Jolly Rancher shot glasses came out of the same candy melting kick, and my DIY peppermint candy spoons are a fun one to make alongside these.

FAN FAVORITE
The Peppermint Bowl That Started My Candy Melting Kick
Peppermint candy bowls came out of me playing around in my kitchen one day. This bowl was my very first melted candy project, and it worked right off the bat. The peppermint and Jolly Rancher shot glasses came after it.
These are always a fan favorite as a holiday gift. It’s a little trinket, but it’s handmade, and it has the thought behind it that you made it for someone.

The Mints and the Mold That Work Best
- Starlight mints: Any brand of round Starlight mints works, so grab whatever your store carries. I look for the larger, flatter mints and skip the tiny ones, because those are the ones that have worked best for me. Sugar-free mints melt differently from brand to brand, so I can’t promise how one will turn out.
- A silicone baking mat or parchment paper: I always use a silicone baking mat, and I’ve never had the candy stick to it. Parchment paper should work too.
- A small glass bowl: This is your mold, and any glass dish about 4.5 inches across the top will do the job.
See the recipe card for full ingredients and quantities.
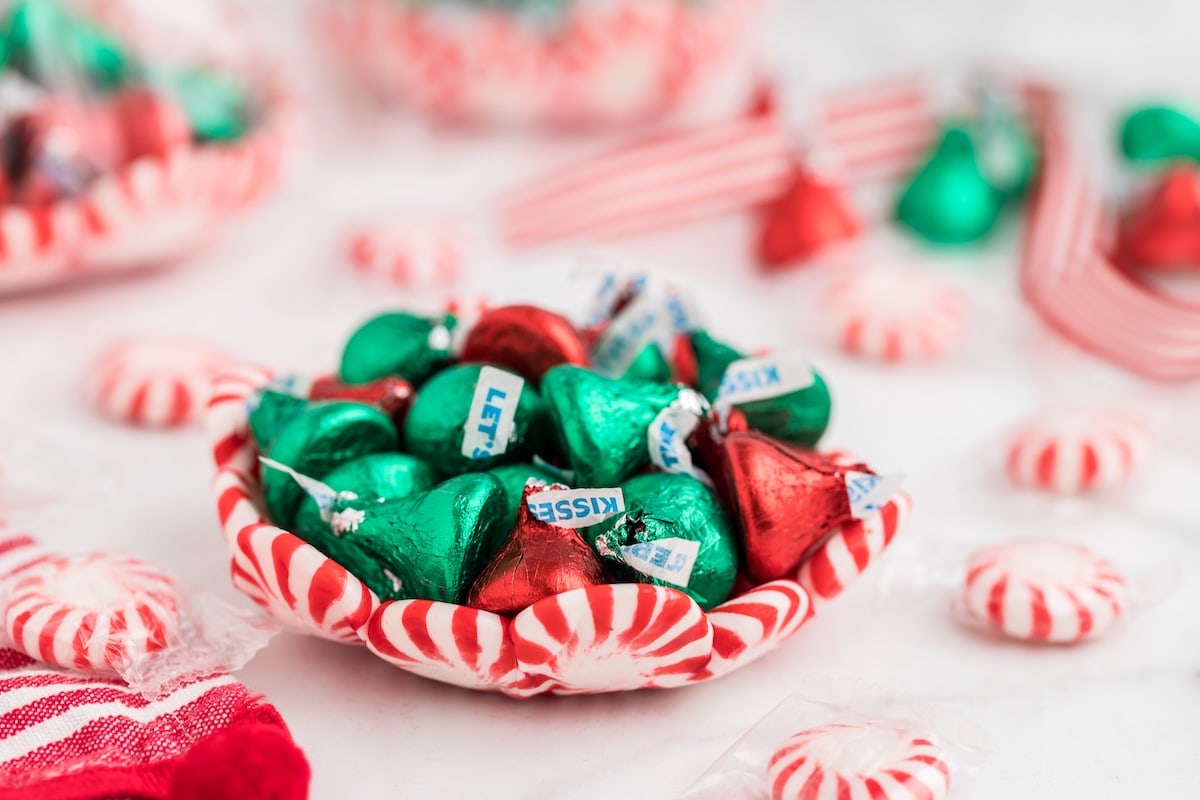
How to Make DIY Peppermint Candy Bowls
Step 1: Arrange the Mints in a Flower Set one mint in the center of your lined baking sheet, then six around it and twelve more around those. Keep every mint touching with as little space between them as you can, so they melt into each other and close up the gaps.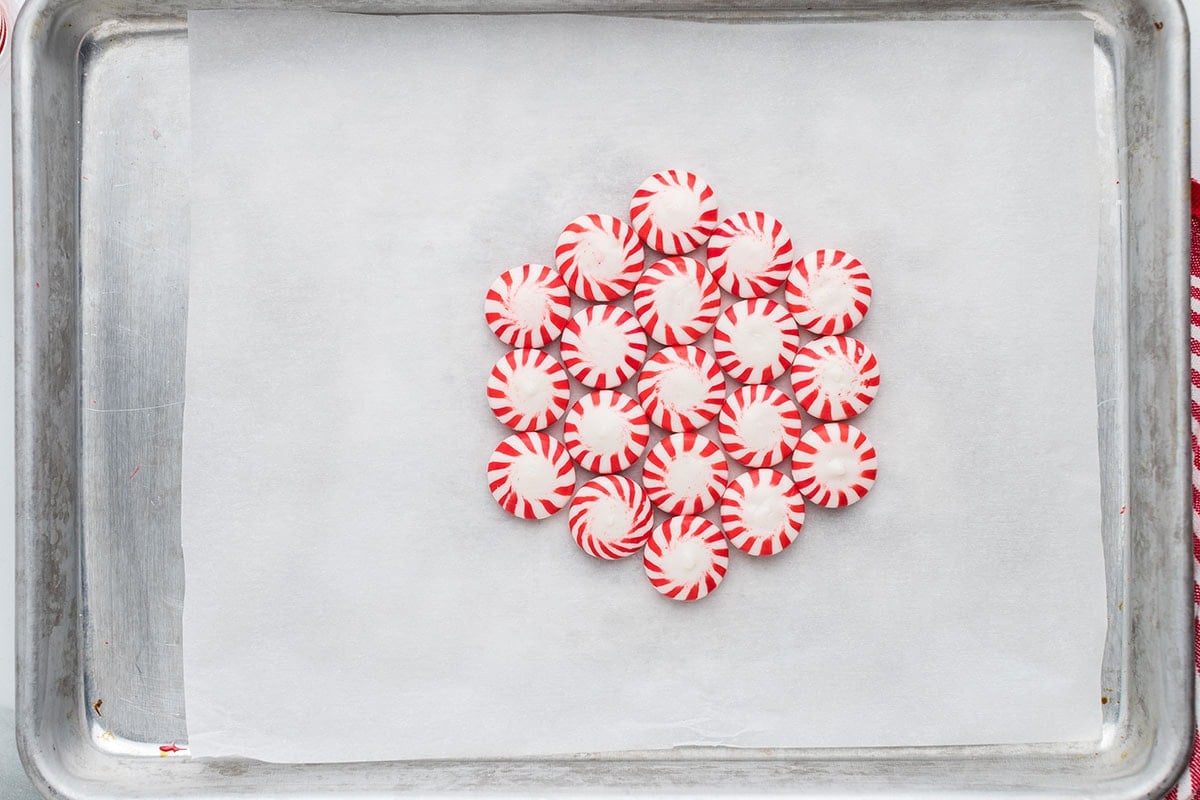
Step 2: Bake Until Shiny Bake until the mints turn shiny and start to spread, and pull them out before they bubble.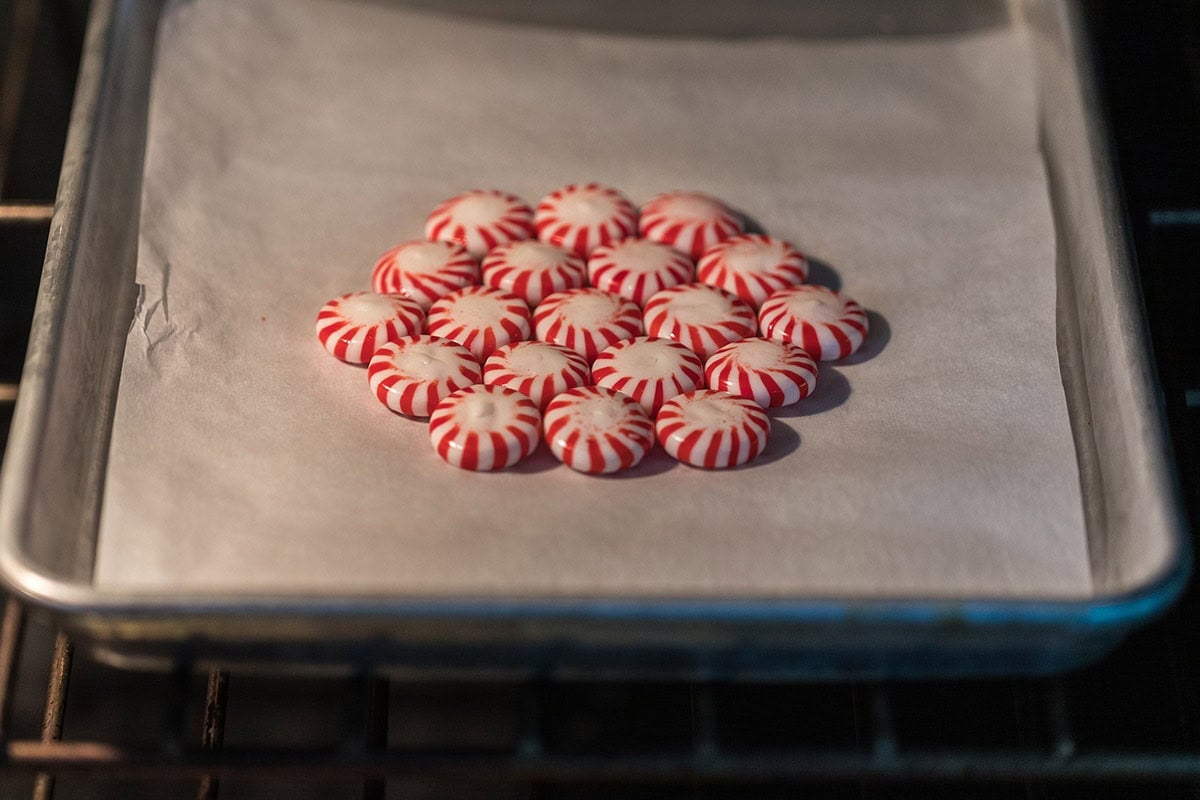
Step 3: Flip and Shape Over the Bowl Let the candy rest for a moment, then flip the mat, mints and all, onto your upside-down glass bowl with the center mint lined up with the center of the bowl. With oven mitts on, press the candy down around the sides before it hardens.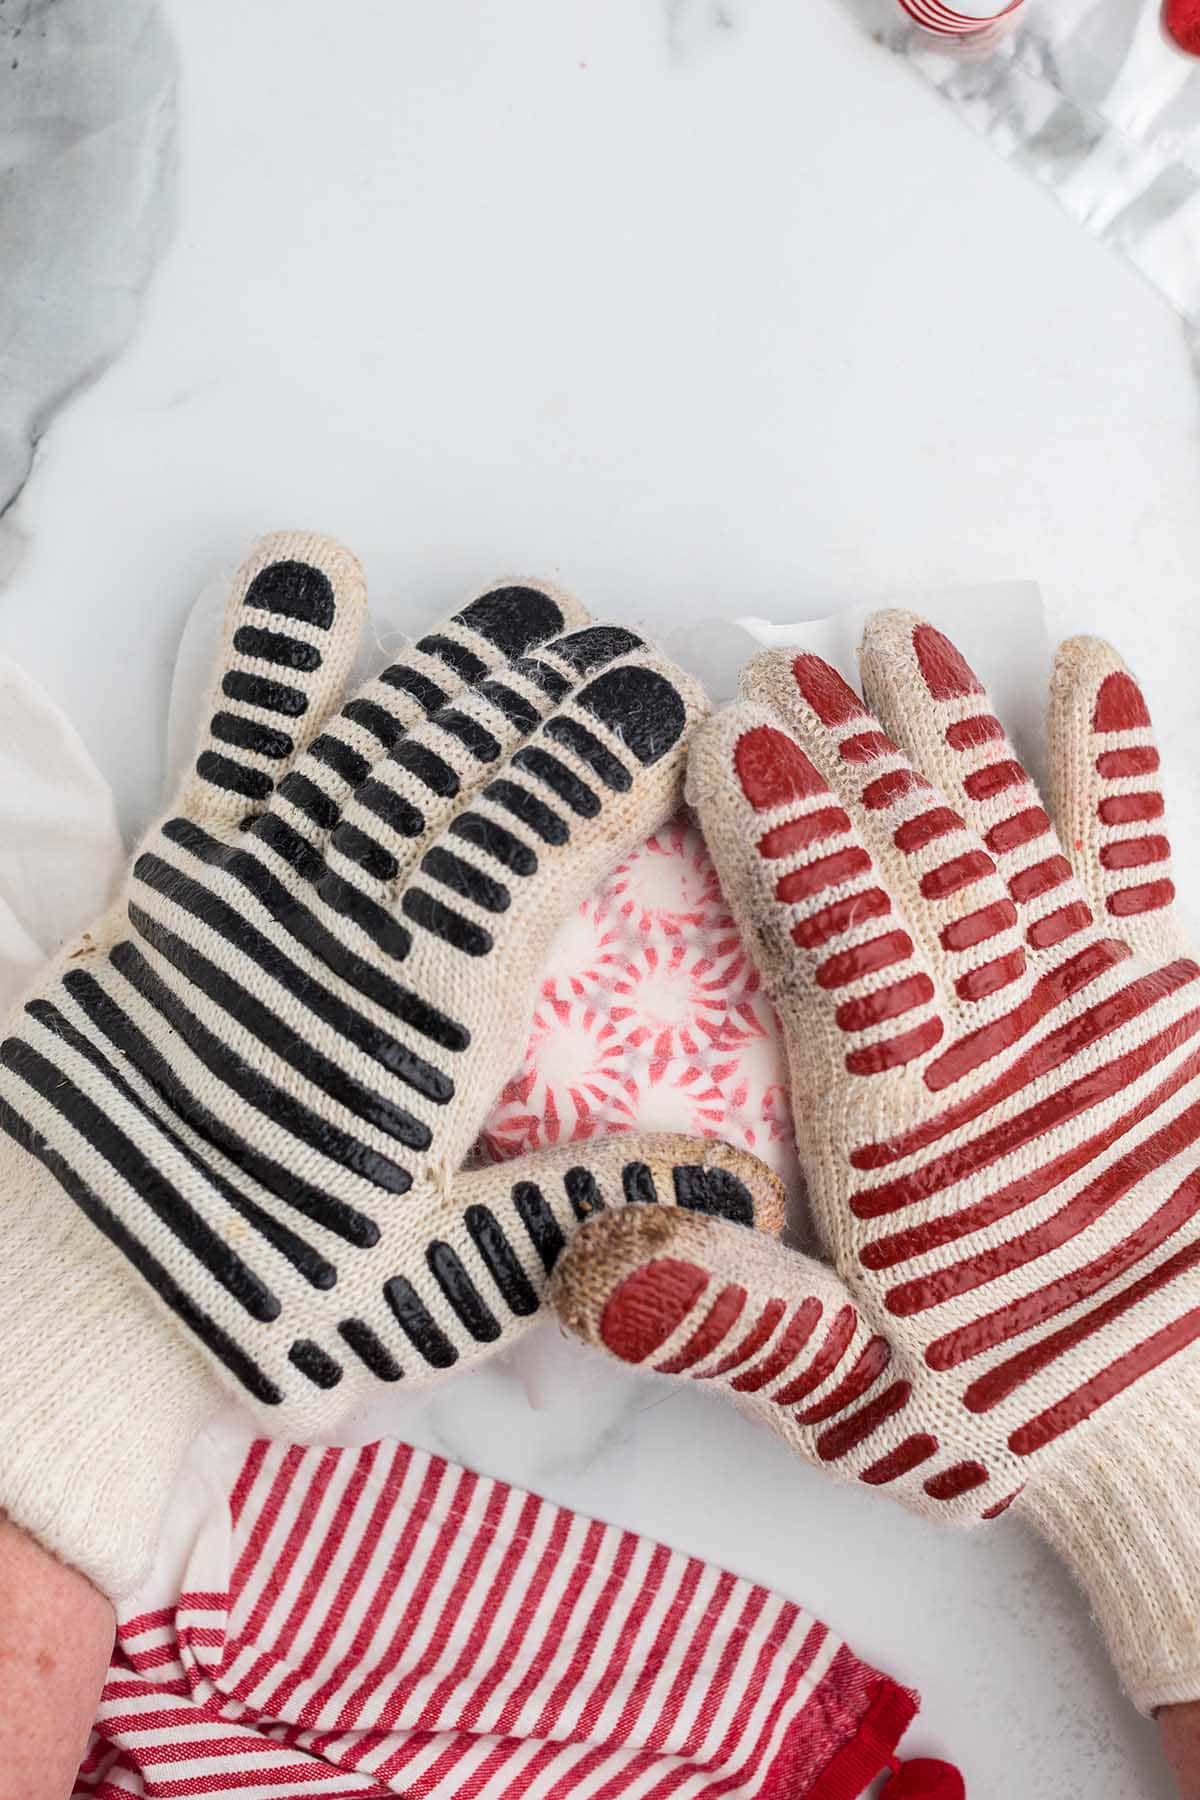
Step 4: Let It Set and Lift It Off Leave the candy on the bowl for a few minutes until it sets, then peel off the mat and lift the candy bowl off the glass. Let it cool completely before you fill it.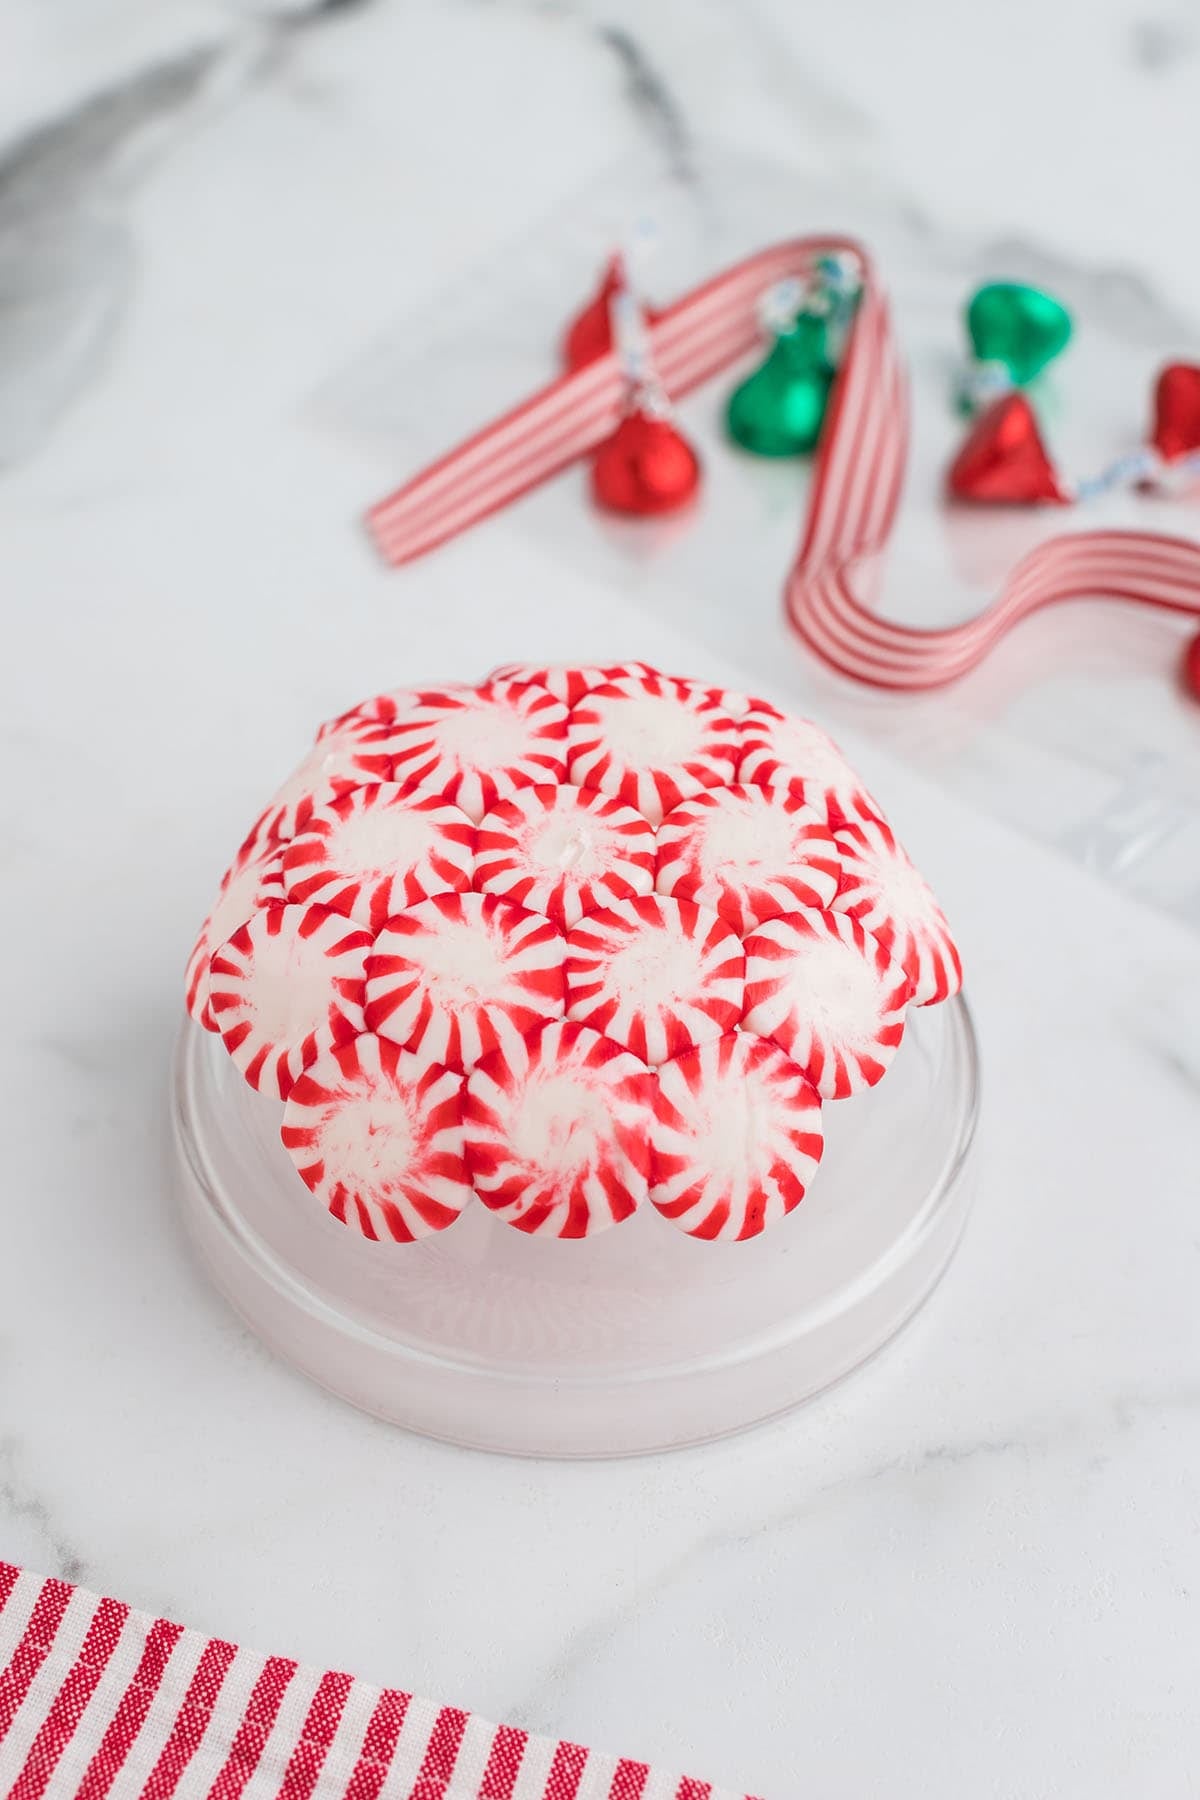
How Long These Candy Dishes Hold Up
I’m in Michigan, where the winter air is dry, so mine don’t get sticky at all and they last a long time. How long yours lasts depends on where you live, because humid air turns the candy sticky.
I plan on a couple of days to a couple of weeks at most, and once one gets sticky I toss it, especially anywhere it could draw bugs. At the end of the season I throw mine out, because they aren’t meant to be saved for next year.
You can eat them, but I treat them more as holiday decor than candy.
More Easy Holiday Gifts and Treats
- Candy Cane Christmas Trees
- Ice Cream Cone Christmas Trees
- Candy Christmas Trees
- Christmas Fudge
- Melted Snowman Chocolate Bark
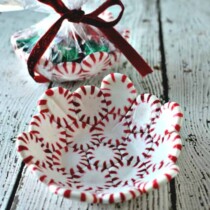
DIY Peppermint Candy Bowls
Ingredients
- 19 Peppermint Starlight Mints (19 per bowl; any brand, the larger, flatter mints work best)
Instructions
- Preheat oven to 300 degrees.
- Place a silicone baking liner or parchment paper on a baking sheet.
- Lay one mint in the center of the baking liner. Take six more mints and lay them around the center mint, making a flower shape. The mints should be touching, with as little gap space as possible. Take the remaining 12 mints and make another circle around the center circles.19 Peppermint Starlight Mints
- Place in the oven. All ovens cook differently, and mine took about 8 minutes, so you must watch them cook. When they start to get shiny and just begin to spread out and melt, they are done. You do not want them so melted that they are bubbling.
- Have your small glass bowl upside down and ready to go. You will use it to mold the candy bowl.
- Take the mints out and let them sit for about 30 seconds. You want them cool enough to handle, but not so cool that they are set.
- Wearing oven mitts, very carefully flip the silicone liner with the mints in place on top of the upside-down glass bowl, because the mints will be super hot. Try to place the center mint as close to the center of the glass bowl as possible. Use your hands (with oven mitts on) to form the mints to the bowl. You will have under a minute before the mints start to harden again.
- Let it sit on the bowl for a few minutes until it sets.
- Remove it from the glass bowl and let cool completely.
- Fill with wrapped candy.
Jenn’s Notes
- Watch the mints the whole time they bake. Pull them when they turn shiny and start to spread, before they bubble.
- Set the glass bowl upside down next to the oven before you start. Once the candy comes out, you have under a minute to shape it.
- If the candy bowl sticks to the glass, hold the candy and gently turn the glass to release it. Next time, give the glass a very light coat of cooking spray first.



What a delightful and creative project! These peppermint candy bowls would be perfect for holiday gatherings. It’s amazing how simple DIYs can add such festive cheer to our homes. Thanks for sharing this sweet idea!
I absolutely love the idea of making peppermint candy bowls! They look so festive and delicious. I wonder how they would hold up in warmer weather—would they melt easily? Thanks for sharing such a fun DIY project!
This DIY peppermint candy bowl idea is honestly so creative—perfect for holiday décor and gifting.
My daughter, grand-daughter and I did this before our annual tea this afternoon. What fun. It is going to make a great teacher gift, and also gift for her brother. We found the spray Pam and a gentle twist of the bowl worked to release the peppermint bowl
Is there anything that I could put on the bowl after it is done to save it and to make it washable?
Unfortunately, there really isn’t. I always use wrapped candy to put in the bowl to keep it from getting dirty
Made these w my grandkids. We put a soda cap on the center mint to make it easier in placing the outer mint circles. Tried making them bigger by adding an extra circle but that didn’t work, too sloppy to scoop. I used a pastry scraper to lift from silicone mat. 👍 So much fun!
So glad you enjoyed making them!! Thanks so much for the great feedback.
It was very easy to understand. I will try this for sure!
Hope you enjoy them! They are always a huge hit!
How far ahead of time can you make these? Thank you!
It really depends on the humidity in your area. I have no issues making them a while in advance, but they can get sticky if left out too long.
I use two different colors of mints. A green mint in center, then the traditional peppermints for bowl. It centers easier on the bowl form.
Such a cute idea! I will have to give that a try!